









Main Facts: The Anatomy of Digital Video Editing
Editing is the crucible where raw cinematic footage transitions into a coherent narrative. Every cut, trim, split, and transition dictates how an audience emotionally and cognitively processes visual media. While capturing stunning footage is the first step, post-production is where the true story takes shape.
DaVinci Resolve, long celebrated as a Hollywood-grade color grading suite, has evolved into an all-in-one post-production powerhouse. Its editing workspace rivals—and in some ways surpasses—industry competitors, offering editors an expansive toolkit designed to handle everything from quick social media clips to feature-length films.
At its core, learning how to cut video in DaVinci Resolve is not merely about deleting mistakes or reducing runtime. It is an intentional act of rhythm-building, pacing control, and attention management. By mastering the software’s diverse cutting methodologies—ranging from keyboard shortcut splits to automated AI-driven scene detection—editors can drastically optimize their workflows and elevate the caliber of their final products.

Chronology: The Evolution of the Digital Edit Workbench
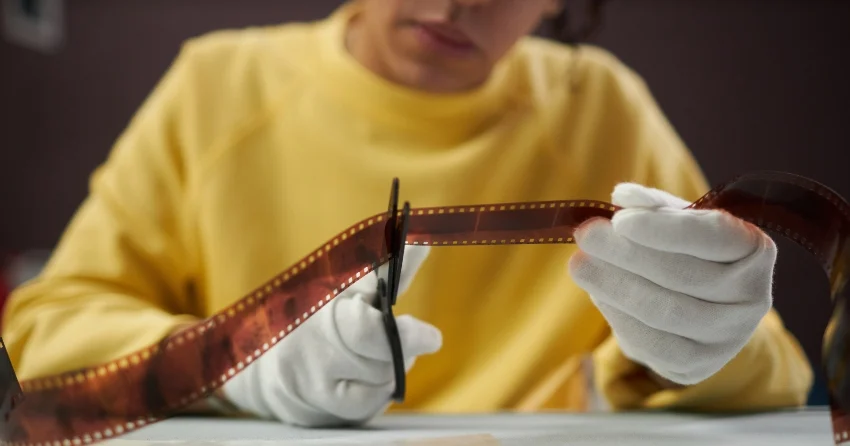
To fully grasp the power of DaVinci Resolve, editors must understand the lineage of digital non-linear editing (NLE) systems. Early video editing involved physically splicing magnetic tape or photo film with razor blades and adhesive tape—a painstaking, irreversible process. Modern NLEs like DaVinci Resolve digitize this process, offering infinite "undo" capabilities and non-destructive workflows.
The standard progression of a professional editing session in DaVinci Resolve follows a structured timeline:
- Project Ingestion and Organization (The Setup): Before a single cut is made, raw media must be imported, categorized, and placed onto the Edit tab workbench. A clean foundation prevents post-production bottlenecks later.
- Rough Assembly: The editor lays out the sequence of events chronologically, removing unusable footage and establishing the broad strokes of the narrative.
- Primary Cutting and Splitting: Using shortcuts like
Ctrl/Cmd + Bor the Blade Tool, the editor chops down long takes into manageable narrative beats. - Precision Trimming: The editor refines the timing of each edit point, ensuring seamless transitions between audio and visual cues.
- Polishing and Enhancement: Advanced adjustments like cropping, reframing, color grading, and audio synchronization are applied to finalize the project.
Supporting Data: 5 Core Cutting Techniques in DaVinci Resolve
There is no single "correct" way to cut a video in DaVinci Resolve. The software provides specialized tools tailored to distinct editing scenarios. Understanding when to deploy each technique is the hallmark of a skilled editor.

1. Quick Splitting (Ctrl/Cmd + B)
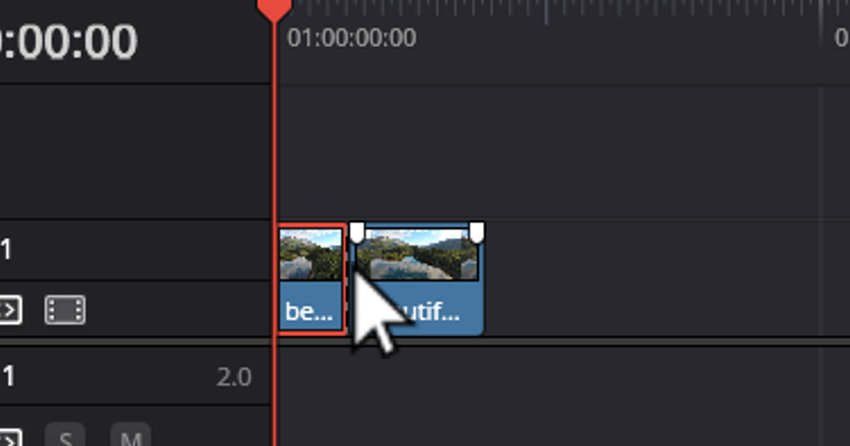
For rapid-fire assembly, the split command is an editor’s best friend. By positioning the playhead at the desired frame and pressing Ctrl + B (Windows) or Cmd + B (Mac), you instantly slice a clip into two independent segments. This is ideal for quickly excising dead air or pacing a dialogue scene.
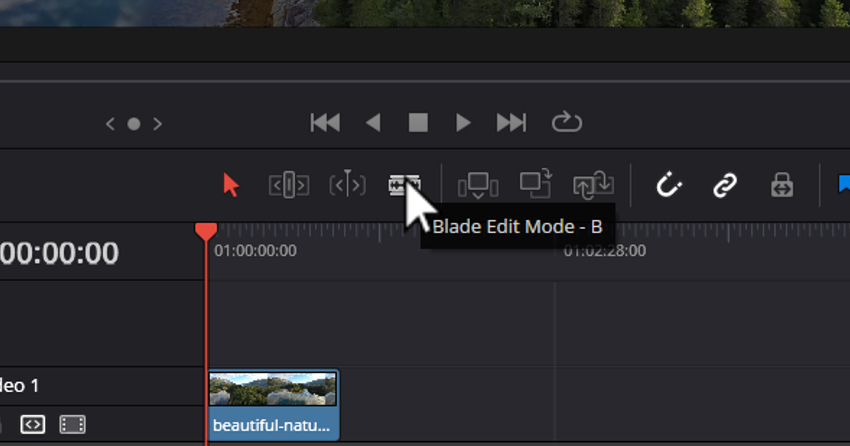
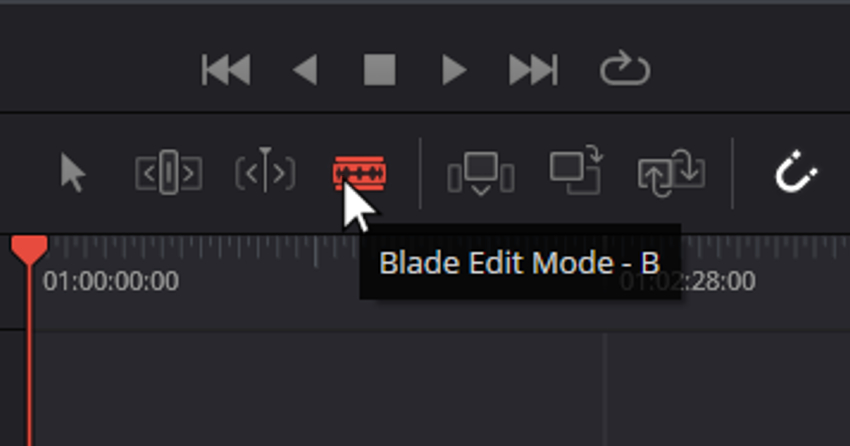
2. Precision Editing with Blade Edit Mode
When maximum accuracy is required, switching to the Blade Tool (C key) allows editors to hover over a clip and make granular frame cuts. This method prevents guesswork, ensuring cuts happen precisely on the desired visual or audio transient.
3. Trimming for Flow
Trimming differs from cutting in that it does not create a new segment; instead, it extends or shortens the head or tail of an existing clip. Using Trim Mode allows editors to nudge edit points forward or backward by single frames, ensuring rhythmic continuity without leaving gaps in the timeline.
4. Cropping and Framing
Sometimes a cut isn’t enough to direct audience attention. Cropping acts like an optical zoom lens, allowing editors to punch in on a subject, reframe off-center action, or adjust aspect ratios for different distribution platforms.
5. Automated Scene Cut Detection
For archival footage, old home videos, or pre-rendered movies lacking a project file, manually cutting scenes is an exhausting chore. DaVinci Resolve’s Scene Cut Detection tool uses advanced algorithms to scan footage, automatically identify where visual camera cuts occurred, and drop split points directly onto the timeline in seconds.
Official Perspectives and Workflow Strategies
Industry professionals emphasize that efficiency in DaVinci Resolve relies heavily on muscle memory and keyboard shortcuts. Transitioning away from mouse-heavy workflows to keyboard-driven commands saves hundreds of hours over the lifespan of a complex project.
However, veterans also caution against common beginner pitfalls:
- The Over-Cutting Trap: Cutting too frequently can induce visual fatigue in the audience, making scenes feel frantic and disjointed. Every cut should serve a narrative purpose.
- Audio-Visual Sync Drift: Disabling "Linked Selection" can cause video and audio tracks to separate inadvertently, leading to frustrating sync errors. Always verify that your chain icon is active when moving grouped media.
- The Gap Dilemma: Standard deletions leave empty black space on the timeline. Utilizing Ripple Delete automatically pulls subsequent footage backward, maintaining a continuous timeline.
Implications: Turning Simple Cuts into Professional Edits
The true test of an editor is not knowing how to use every tool simultaneously, but knowing which tool the story demands at any given second.
- Speed over Precision: Use quick splits (
Ctrl/Cmd + B) during rough assemblies to clear out clutter. - Precision over Speed: Use Blade Mode and Trim tools for fine-tuning dialogue, music video beats, and dramatic pacing.
- Automation over Manual Labor: Leverage Scene Cut Detection to bypass hours of tedious clipping on archival material.
Furthermore, a polished video relies on more than just clean cuts. Creators can drastically enhance their raw timelines by integrating high-end digital assets—such as motion graphics, dynamic video templates, customized sound effects, and AI-assisted production tools.
Ultimately, whether you are utilizing the robust free version of DaVinci Resolve or the Studio tier, the software provides all the firepower necessary to transform rudimentary footage into captivating cinema. Open your next project, embrace the shortcuts, and let your narrative unfold with precision and intent.
Frequently Asked Questions (FAQs)
What’s the difference between cutting, trimming, and splitting in DaVinci Resolve?
Cutting is a broad term for dividing footage. Splitting specifically separates a clip into two distinct pieces at the playhead position. Trimming adjusts the start or end points of a clip without generating a new segment. Splitting builds structure; trimming refines timing.
When should I cut vs. trim in DaVinci Resolve?
Use cutting when you need to excise, remove, or rearrange large blocks of footage. Use trimming when your structural sequence is already locked in and you need to fine-tune the exact pacing of a transition.
How do I know if a cut is in the right place?
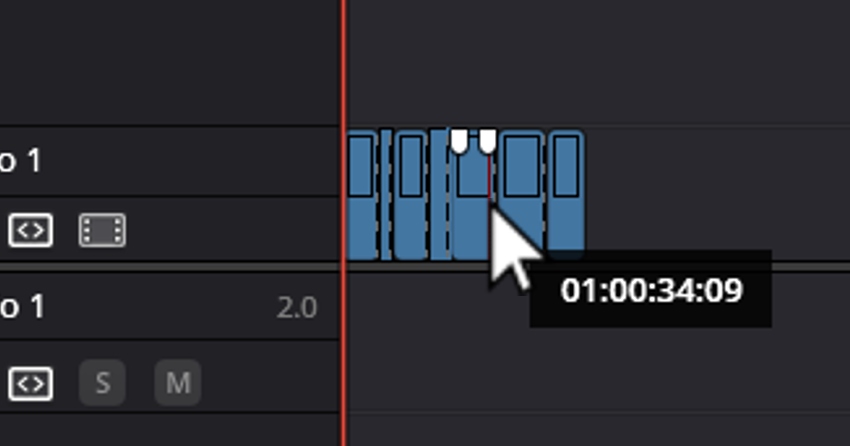
Play back your sequence and evaluate its rhythm. A well-executed cut should feel virtually invisible, allowing the viewer to remain immersed in the story rather than distracted by the editing mechanics. If an edit feels jarring, adjust its timing by a few frames.
How do I cut multiple clips at once in DaVinci Resolve?
Select multiple clips across different tracks, position your playhead where you want the cut, and use the split shortcut. DaVinci Resolve will sever all highlighted clips at that exact frame.
Why is my cut splitting the video but not the audio?
This typically occurs when Linked Selection is disabled. Ensure the chain icon in your toolbar is toggled on to keep corresponding audio and video tracks bound together.
Why does DaVinci Resolve leave a gap after I delete a clip?
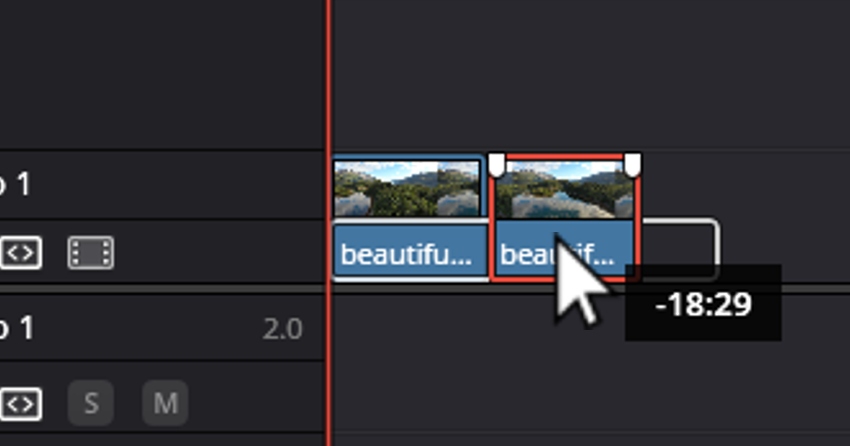
Standard deletion removes the clip while leaving empty timeline space. To automatically close the gap, use Ripple Delete.
Can I undo a cut in DaVinci Resolve?
Yes. Press Cmd/Ctrl + Z to step backward through your recent actions and undo previous edits.
Can I cut a video in DaVinci Resolve for free?
Yes. The free version of DaVinci Resolve includes all essential cutting, trimming, splitting, and scene-detection tools, making it more than adequate for professional-grade editing workflows.