










In the modern landscape of digital media production, DaVinci Resolve has firmly established itself as an industry-standard powerhouse. Originating as a high-end color grading suite, Blackmagic Design’s flagship software has evolved into a comprehensive post-production ecosystem. Today, it houses professional editing, advanced visual effects via Fusion, and sophisticated audio engineering through Fairlight under a single roof.
Yet, for both novice creators and seasoned professionals transitioning from other non-linear editing (NLE) systems, mastering the core mechanics of timeline management remains a crucial rite of passage. Among these foundational tasks, learning how to correctly insert, add, and replace video clips without disrupting the surrounding sequence is essential. A poorly executed edit can throw an entire project out of sync, ruining the rhythm of a scene or creating jarring audio gaps.
This comprehensive guide breaks down the architecture of timeline insertions in DaVinci Resolve. By examining the precise mechanics of drag-and-drop operations, Smart Inserts, Ripple Overwrites, and Source Overwrites, editors can move beyond simple trial-and-error clicks to achieve absolute control over their storytelling sequences.

Main Facts: Understanding the Mechanics of Timeline Insertions
At its core, professional video editing relies on a fundamental distinction: the difference between pushing a sequence outward and replacing existing footage. When working within DaVinci Resolve, treating every cut with intentionality prevents the chaotic ripple effects that often plague amateur edits.
The Anatomy of an Insert Edit
When an editor performs an insert operation, DaVinci Resolve does not simply drop media onto a track; it dynamically restructures the timeline.
- Spatial Displacement: The software reads the exact position of the playhead, splits the existing media, and shifts all downstream clips—both video and audio—forward by the exact duration of the newly inserted material.
- Preserving Sync: Because all linked tracks move uniformly, dialogue, ambient sound, and background music retain their temporal relationships, preventing devastating sync drift.
The Role of Target Tracks
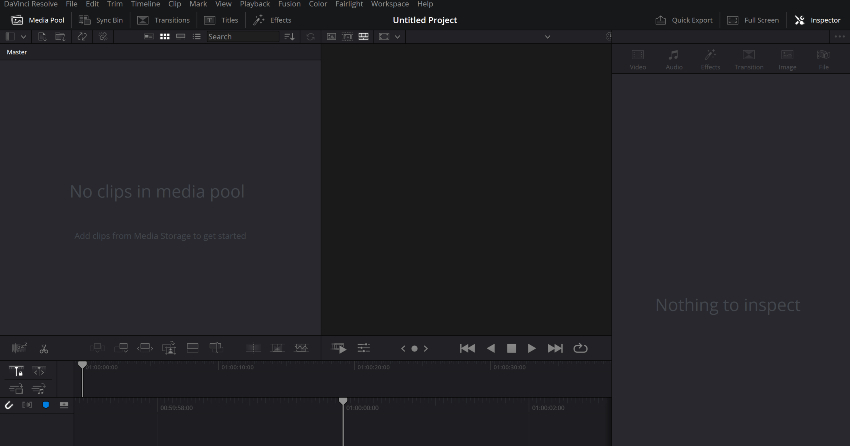
Before executing any addition to a timeline, professional workflows demand verification of track targeting. In DaVinci Resolve, target tracks dictate precisely where incoming source media will land. Failing to verify these indicators can result in video overwriting a dialogue track, or audio material being routed incorrectly, turning a simple five-second fix into a lengthy troubleshooting session.
Chronology and Step-by-Step Execution: Basic Insertion Methods
For editors looking to seamlessly integrate a new piece of footage into an existing sequence, the traditional drag-and-drop workflow—combined with precise playhead placement—offers immediate, visual feedback.
Step 1: Strategic Playhead Positioning
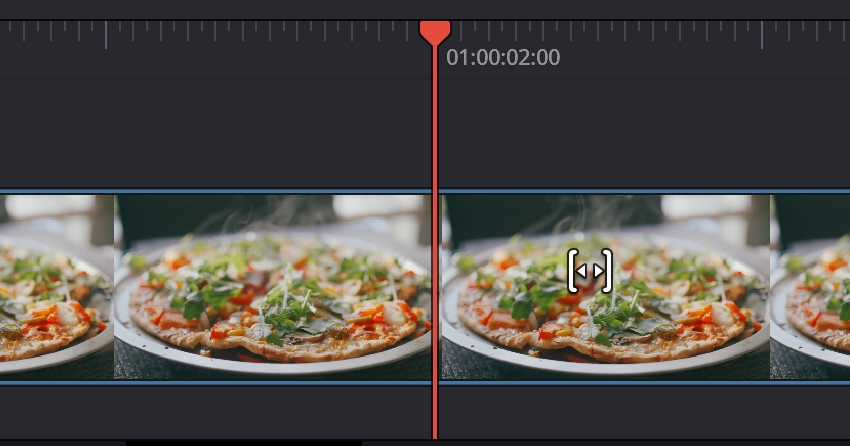
The vertical playhead indicator dictates the exact frame where your edit will occur. Rather than relying on approximate mouse clicks, editors should utilize audio waveforms or visual cues to place the playhead precisely on a beat, a cut, or a specific dialogue marker.
- The Power of Snapping: Enabling the Snapping tool (represented by the magnet icon in the toolbar) ensures the playhead magnetically locks onto edit points, eliminating microscopic timing errors.
Step 2: Reviewing and Trimming in the Source Viewer
Blindly dragging raw footage from the Media Pool directly onto a complex timeline introduces unnecessary bloat and unwanted frames.
- Double-clicking a clip opens it in the Source Viewer.
- Utilizing the I (In) and O (Out) keyboard shortcuts allows editors to isolate only the necessary segment of the clip.
- Dragging this trimmed selection from the Source Viewer to the timeline ensures maximum efficiency.
Step 3: Executing the Drag-and-Drop Insert
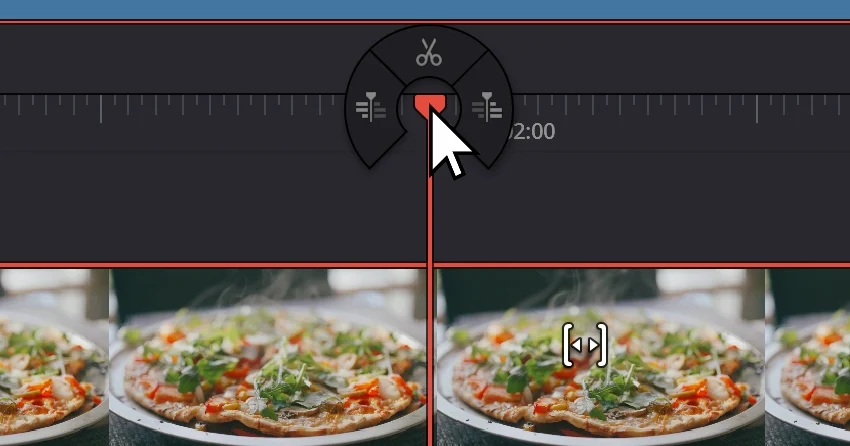
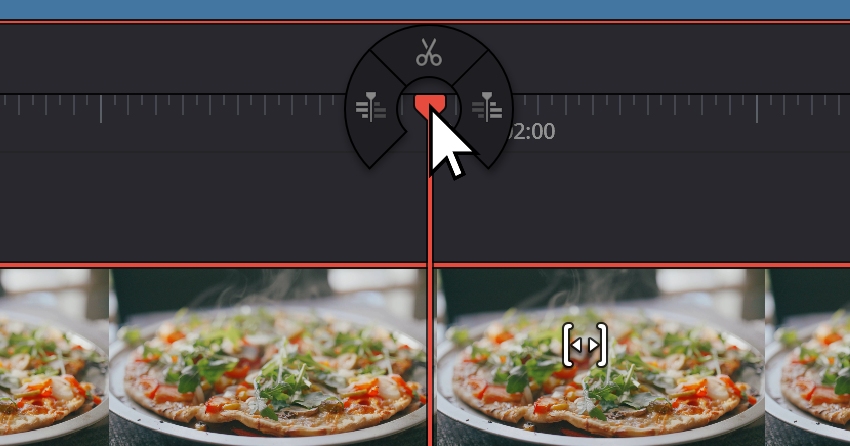
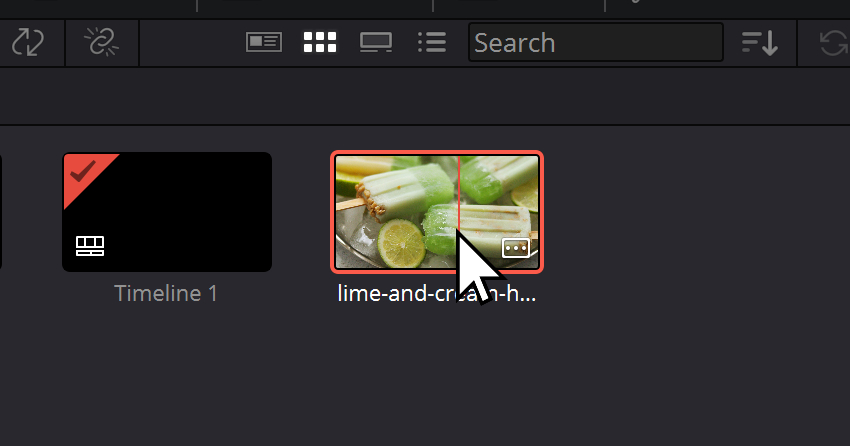
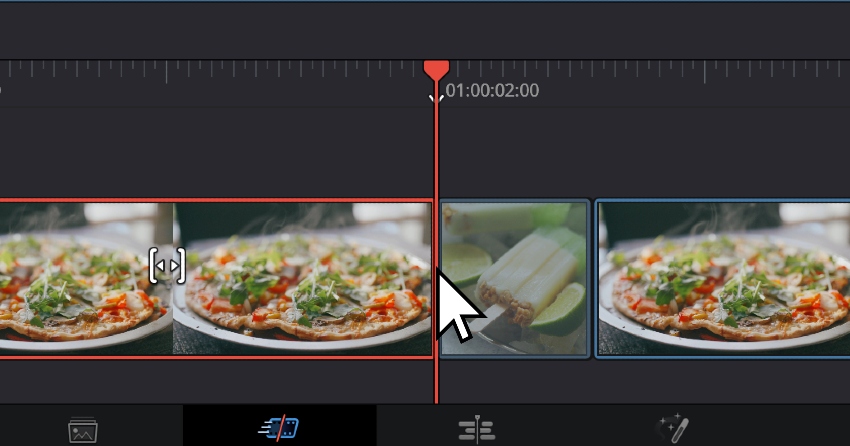
As you drag the selected clip and hover it over the timeline, DaVinci Resolve provides real-time visual feedback. The downstream clips on the target track will visually part ways, parting like a curtain to indicate where the new media will rest. Releasing the mouse button completes the insert, smoothly shifting the timeline forward without a single dropped frame or orphaned audio track.
Supporting Data and Advanced Techniques: Precision Tools
While basic drag-and-drop workflows serve everyday editing needs, professional environments demand faster, more specialized tools. DaVinci Resolve provides four advanced command functions designed for specific post-production scenarios.
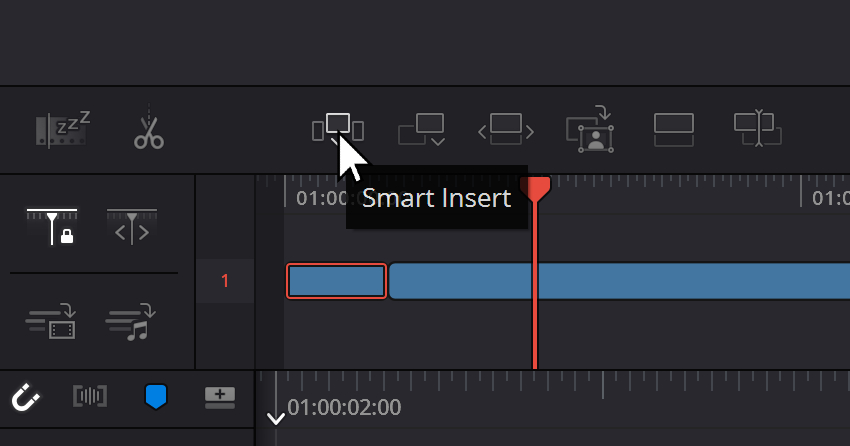
1. Smart Insert (Keyboard Shortcut: F9)
The Smart Insert function performs the duties of a traditional insert edit with automated intelligence. When activated, it places the source clip at the playhead position, pushing all downstream content forward.
- Why it matters: It maintains strict adherence to track protocols and preserves media quality entirely in the timeline domain, ensuring zero generational loss or rendering artifacts.
2. Append (Appending to the Timeline)
When constructing a rough cut or assembling B-roll sequentially, the Append function acts as the ultimate "keep building" tool.
- Instead of worrying about playhead placement, the Append command instantly drops the selected source clip or batch of clips at the very end of the active timeline.
- This eliminates accidental overwrites and ensures linear progression during the assembly phase.
3. Ripple Overwrite (Keyboard Shortcut: Shift + F10)
There are moments when an editor needs to replace an existing sequence of clips with a new piece of media that happens to be of a completely different duration.
- The Solution: Ripple Overwrite replaces the target section while automatically expanding or contracting the entire timeline to accommodate the new length.
- This tool is invaluable for swapping out alternative takes during a rough cut without forcing the editor to manually trim and slide subsequent footage.
4. Source Overwrite (Keyboard Shortcut: F11)
Unlike Ripple Overwrite, Source Overwrite is designed for surgical replacements where the overall duration of the scene must remain strictly locked.
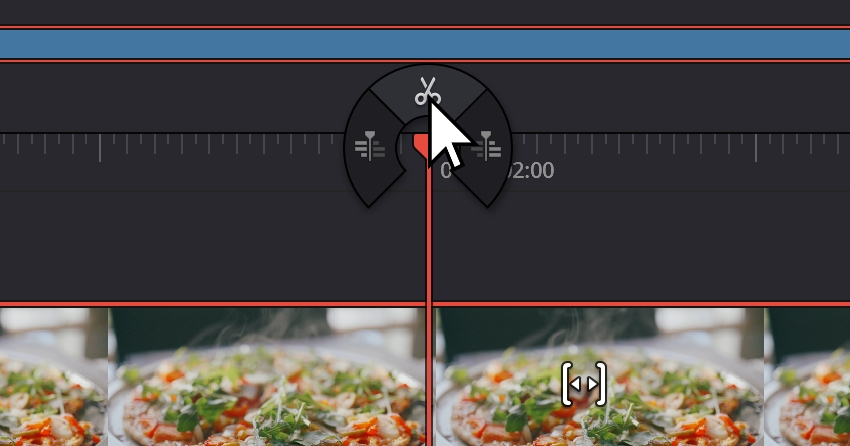
- By defining precise In and Out points on both the source clip and the timeline, an editor can instantly swap out underlying visuals (such as covering a visual mistake with a cutaway) while keeping the exact timing and sync of the scene completely undisturbed.
Official Perspectives and Industry Standards
Professional post-production supervisors and DaVinci Resolve certified trainers consistently emphasize that mastering these four keyboard-driven tools (F9, F10, Shift + F10, F11) separates amateur hobbyists from professional finishing editors.
According to Blackmagic Design’s authorized training documentation, understanding the fundamental distinction between inserting (making space) and overwriting (replacing content) drastically reduces project turnaround times. Industry veterans note that relying exclusively on mouse-driven drag-and-drop techniques on complex, multi-track timelines inevitably introduces human error. By shifting toward keyboard-centric editing commands, studios report significantly fewer occurrences of dropped sync, misaligned audio channels, and fragmented timelines.
Implications for Modern Content Creators and Studios
The efficiency gained by mastering timeline insertion techniques ripples across every tier of the modern media landscape—from independent YouTube creators to high-end cinematic post-production houses.
1. Enhanced Creative Flow
When technical execution becomes second nature, the editor spends less time fighting the software interface and more time focusing on narrative pacing, emotional resonance, and stylistic delivery. The editing process transforms from a mechanical chore into an intuitive creative flow.
2. Scalability for Complex Projects
As projects scale in complexity—incorporating multi-channel dialogue, intricate sound design, layered visual effects, and complex color grades—the margin for error shrinks. Knowing precisely when to deploy a Smart Insert versus a Source Overwrite ensures that expanding a documentary or tightening a promotional video does not inadvertently destabilize hours of upstream audio mixing or color balancing work.
3. Leveraging Professional Ecosystems
To further accelerate productivity, many contemporary creators pair these foundational timeline skills with pre-built professional frameworks. Resources such as Envato provide extensive libraries of DaVinci Resolve templates, transitions, lower thirds, and royalty-free audio assets. By integrating ready-made structures into a clean, well-managed timeline, creators can bypass repetitive setup tasks and deliver polished, cinematic content under tight production deadlines.
Frequently Asked Questions (FAQs)
How do I insert a clip between two clips in DaVinci Resolve?
Place your playhead at the exact point where you want the new footage to appear. Drag the clip from your media pool onto the timeline until you see the surrounding clips visually shift forward, or utilize the Smart Insert command (F9). This pushes downstream media to the right and preserves absolute synchronization across all targeted tracks.
What is the primary difference between Insert and Overwrite?
An Insert operation creates new space on the timeline by shifting existing clips forward, meaning your timeline gets longer. An Overwrite operation replaces existing footage directly beneath the playhead or marked range without altering the overall duration or position of the surrounding clips.
When should I use Ripple Overwrite?
Use Ripple Overwrite when you need to substitute a clip on the timeline with a new source clip of a different length, and you want the entire timeline to automatically expand or contract to fit the new material. It is ideal for testing alternative takes during a rough cut.
Why did my audio drift out of sync after an insertion?
Audio sync issues typically stem from incorrect track targeting or imprecise playhead placement. If your audio tracks were not locked or targeted uniformly alongside your video tracks, an insert command may have shifted visual elements independently of their corresponding sound files. Always double-check your track selectors before executing timeline changes.