









Post-Production Deep Dive: Professional video editing relies on precision, and few pieces of software demand—or reward—precision quite like DaVinci Resolve. Whether you are assembling a quick social media clip or color-grading a cinematic feature, mastering timeline architecture is essential. Here is a comprehensive guide to inserting and adding video clips cleanly, keeping your edits synced, intentional, and structurally sound.
Main Facts: The Core Mechanics of Timeline Insertion
DaVinci Resolve is a powerhouse post-production suite that handles editing, visual effects, color correction, and audio post-production all under one roof. However, one of the most common hurdles for editors—both novice and experienced—is learning how to insert video clips into an existing timeline without throwing the sequence out of sync.

The golden rule of editing is simple: do not let your audio and video drift.
When you want to add media between two existing clips, dragging and dropping blindly can cause havoc, leading to overwritten footage, audio misalignment, and awkward gaps. To avoid this, editors rely on specific tools like Insert Edits, Smart Insert, Ripple Overwrites, and Source Overwrites. Understanding the logic behind each tool allows you to direct the software rather than fighting it.
Chronology: Step-by-Step Guide to the Drag-and-Drop Insert Method
If you are working standard edits and want to insert a clip manually using the drag-and-drop workflow, follow this step-by-step chronology to guarantee a clean sequence.
Step 1: Position the Playhead Precisely
Your first task is to determine exactly where the new clip belongs. The playhead—the vertical line indicating your current timeline position—acts as your marker.
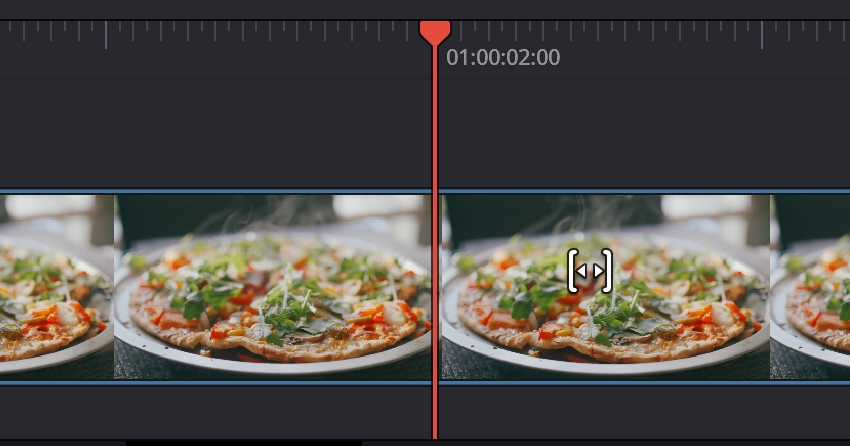
- Click directly on the timeline between the two target clips.
- Pro Tip: If you are editing to dialogue or a specific music beat, play through the section and stop playback precisely where the transition should occur. Precision here eliminates cleanup later.
Step 2: Access the Right-Click Menu
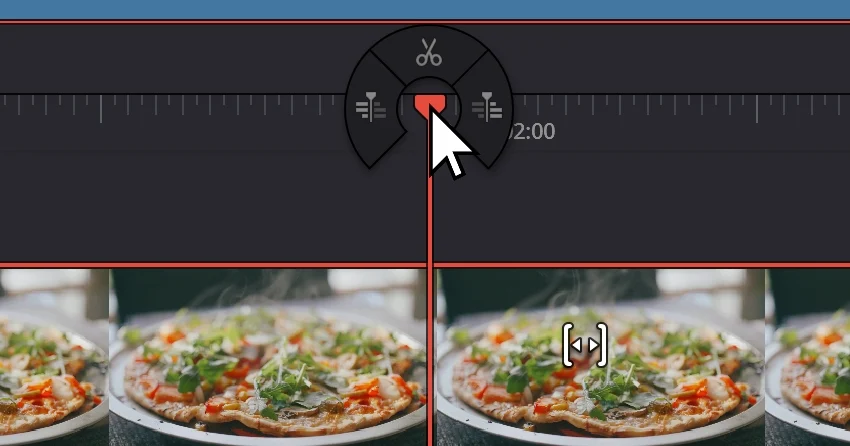
Once your playhead is locked into position, right-click to reveal the context menu. This panel controls how your incoming media interacts with surrounding assets. Reviewing the available options builds foundational knowledge for faster cutting in future sessions.
Step 3: Use the Blade Tool for Separation
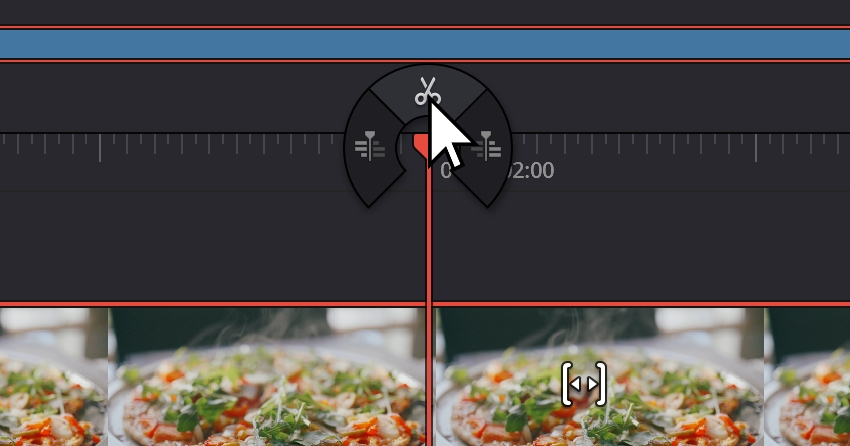
To carve out space manually, select the Scissor icon (the Blade Tool) to cut your footage at the playhead.
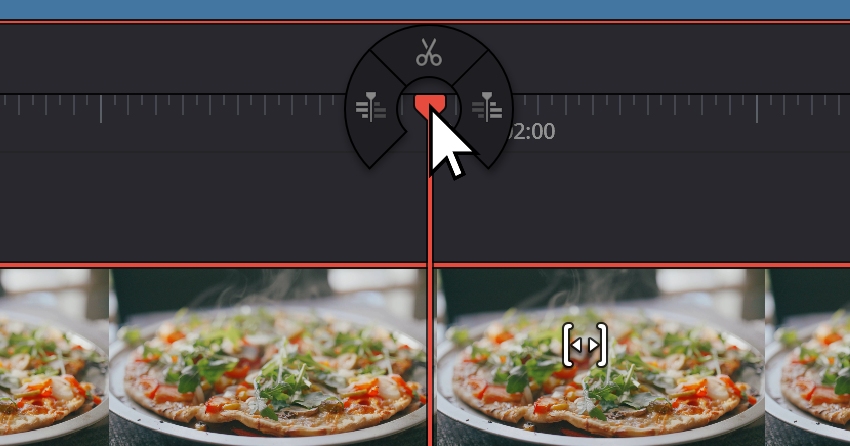
- Pro Tip: Always switch back to the Selection tool (the Arrow icon) immediately after making your cut. Remaining in Blade mode is the number one cause of accidental micro-cuts.
Step 4: Select and Trim Your Source Clip
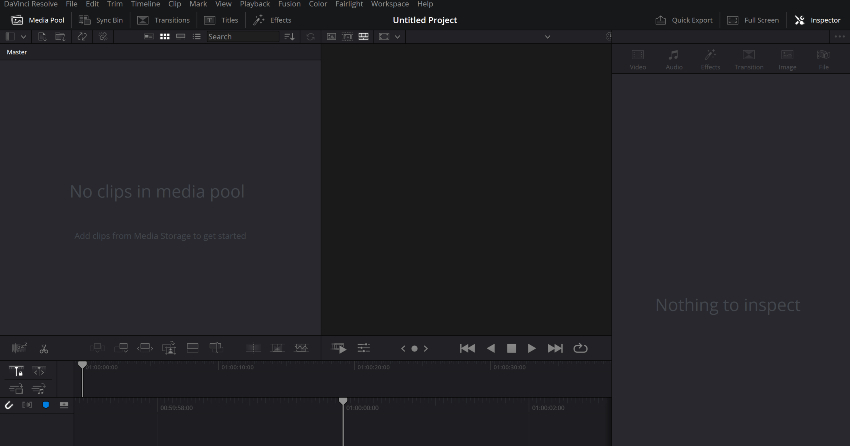
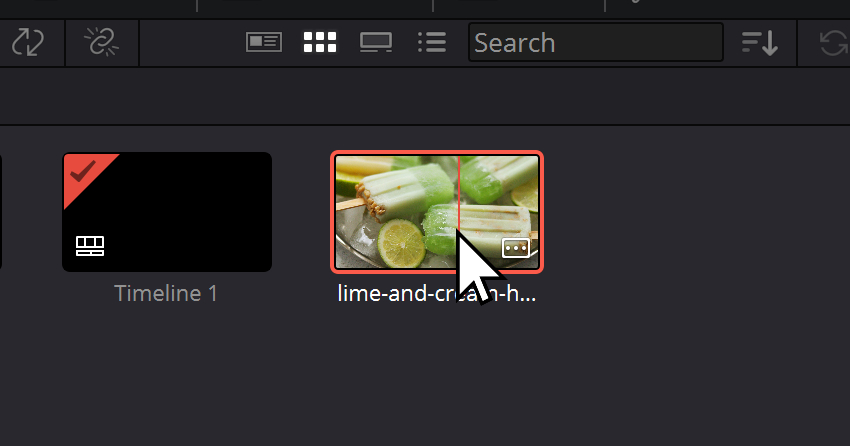
Before dragging footage to the timeline, open your Media Pool and double-click your chosen file to load it into the Source Viewer.
- Instead of dropping entire raw files, set precise In (I) and Out (O) points. This ensures you only insert the exact frames required, bypassing the need for subsequent timeline trimming.
Step 5: Drag and Drop to the Timeline
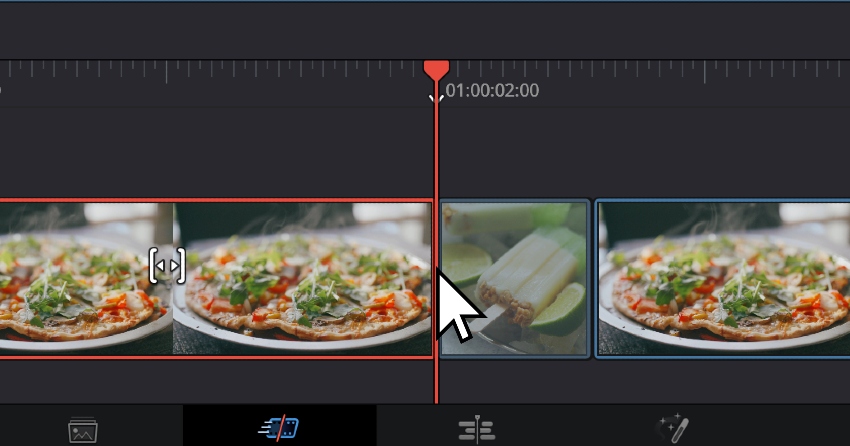
Drag your selected clip from the Source Viewer down to the timeline. As you hover over the cut point, you will notice visual previews indicating that the downstream clips are sliding forward to make room.
Step 6: Drop and Verify
Release the left mouse button. Resolve automatically shifts everything to the right without disrupting your sync. Take a quick visual pass over the timeline to confirm the edit landed cleanly.
Supporting Data: Advanced Editing Tools & Keyboard Shortcuts
Beyond basic drag-and-drop workflows, DaVinci Resolve offers specialized editing tools designed to expedite complex post-production pipelines. Knowing which tool to deploy saves hours of timeline management.
+--------------------+-------------------+---------------------------------------------------+
| Tool Name          | Shortcut          | Primary Function                                  |
+--------------------+-------------------+---------------------------------------------------+
| Smart Insert       | F9                | Inserts clip at playhead, pushing media forward.  |
| Append             | N/A (Button)      | Adds clips to the very end of the timeline.       |
| Ripple Overwrite   | Shift + F10       | Replaces a clip, expanding/contracting timeline.  |
| Source Overwrite   | F11               | Replaces media between In/Out points statically.  |
+--------------------+-------------------+---------------------------------------------------+
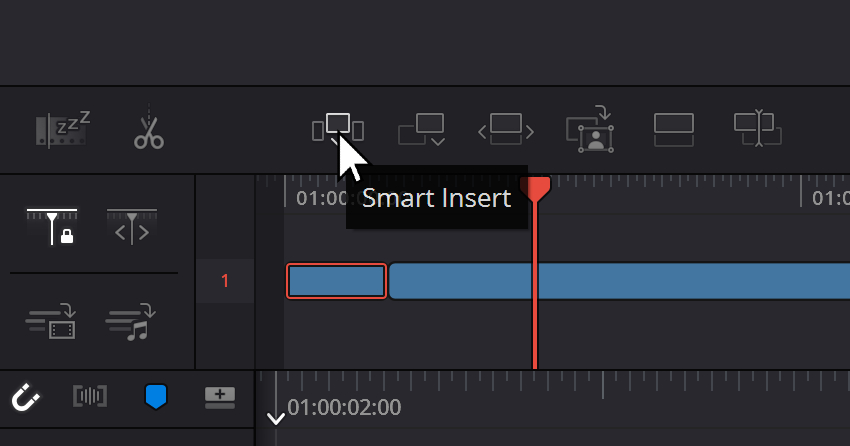
Tool 1: Smart Insert (F9)
The Smart Insert function adds a new clip at the playhead position while dynamically pushing all subsequent clips forward. It maintains timeline structure and preserves asset quality completely, as no rendering or compression occurs during the timeline operation.
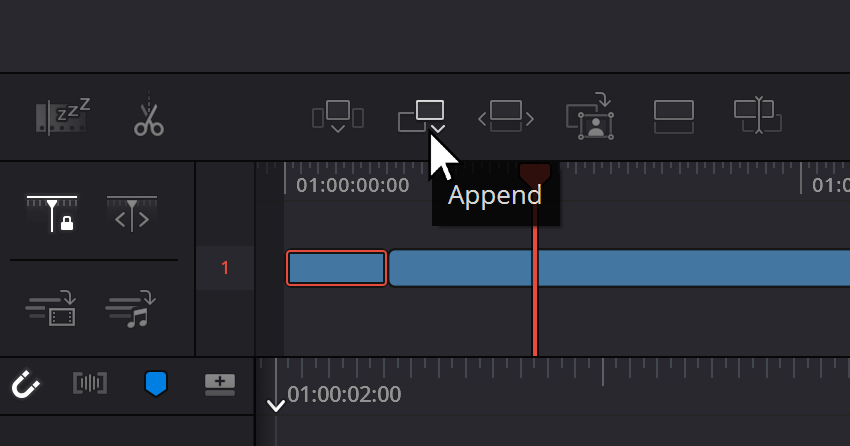
Tool 2: Append
The Append feature is your timeline’s "keep building" button. It places a clip or a batch of selected media at the absolute end of your active sequence. This is ideal for assembling rough cuts, string-outs, or adding sequential B-roll blocks.
Tool 3: Ripple Overwrite (Shift + F10)
When you need to replace an existing timeline clip with a new one of a different length, Ripple Overwrite is the go-to tool. The timeline automatically ripples—expanding or contracting—to accommodate the exact duration of the incoming media.
Tool 4: Source Overwrite (F11)
Unlike Ripple Overwrite, Source Overwrite swaps out timeline footage between marked In and Out points without altering the overall length of your sequence or causing a domino effect. Nothing moves downstream, making it indispensable for tightly synced music videos or multi-cam dialogue exchanges.
Official Recommendations: Best Practices for Clean Insertions
Industry professionals emphasize that technical proficiency must be paired with disciplined habits. Consider these official strategies to optimize your editing workflow:
- Leverage Magnetic Snapping: Keep the snapping tool (magnet icon) enabled in your toolbar. This ensures your playhead and clips magnetically lock onto edit points, preventing single-frame gaps or overlapping media.
- Embrace Multiple Undos: Experimentation is encouraged. DaVinci Resolve supports deep undo histories (
Ctrl+ZorCmd+Z), meaning you are never permanently locked into a bad edit. If an insertion fails, step backward and try an alternative tool. - Double-Check Track Targeting: Before executing any edit, verify which video and audio tracks are actively targeted. Ignoring track selection is the primary reason editors accidentally overwrite background audio or dialogue tracks.
Implications: Elevating Your Narrative Through Intentional Editing
Mastering clip insertion in DaVinci Resolve changes an editor’s relationship with the software. When mechanics become second nature, you stop fighting the timeline and start focusing entirely on pacing, rhythm, and storytelling.
Furthermore, combining these technical foundations with high-quality third-party assets—such as those available through curated libraries like Envato Elements—allows creators to bypass repetitive setup work. Utilizing pre-built templates for transitions, lower thirds, and title animations frees up mental bandwidth, transforming a standard project into a polished, cinematic experience.
By understanding the distinct logic behind Insert, Overwrite, and Ripple edits, you ensure that your timeline remains clean, your audio stays locked in sync, and your final narrative lands with maximum creative impact.