









For video editors operating in today’s high-demand digital landscape, the difference between a good video and a great one often lies in the efficiency of the workflow. DaVinci Resolve has emerged as the industry-standard application, bridging the gap between professional-grade color grading and powerful non-linear editing (NLE). However, the complexity of the software can be a hurdle for those looking to produce high-end motion graphics and visual effects under tight deadlines.

The strategic use of templates has revolutionized post-production, allowing creators to bypass the tedious manual construction of titles, transitions, and complex visual effects. By integrating a curated library of assets, editors can elevate their storytelling without sacrificing hours of creative labor. This comprehensive guide explores the best free resources available for DaVinci Resolve, how to integrate them into your workflow, and the best practices for maintaining technical performance.
The Evolution of the Post-Production Workflow
The rise of social media and the demand for high-frequency video content have shifted the expectations for independent creators and professional studios alike. Editors are no longer just cutting footage; they are expected to be motion designers, colorists, and sound engineers.
Templates serve as the "creative shortcut" that makes this level of productivity possible. Whether you are a novice learning the interface or a seasoned veteran managing a multi-cam project, the right template acts as a foundational architecture. By utilizing pre-designed assets, creators ensure a level of polish that would otherwise require deep expertise in Fusion—DaVinci Resolve’s node-based visual effects environment.
What to Look for in a DaVinci Resolve Template
Before downloading an asset, it is vital to perform a "technical audit" of the file. A compelling preview video often masks a bloated or poorly optimized project file. When selecting templates, consider the following:
- Customization Flexibility: Can you easily swap out the color palette, font styles, and timing?
- Performance Impact: Does the template rely on heavy external plugins that could crash your system?
- Resolution Compatibility: Is the template native to your project’s aspect ratio (e.g., 4K vs. 1080p, or vertical for mobile)?
- Licensing: Always verify whether the template is cleared for commercial use. While many are free, some may require attribution or a specific paid license if used for client work.
Categorized Asset Library
Opener Templates: Setting the Tone
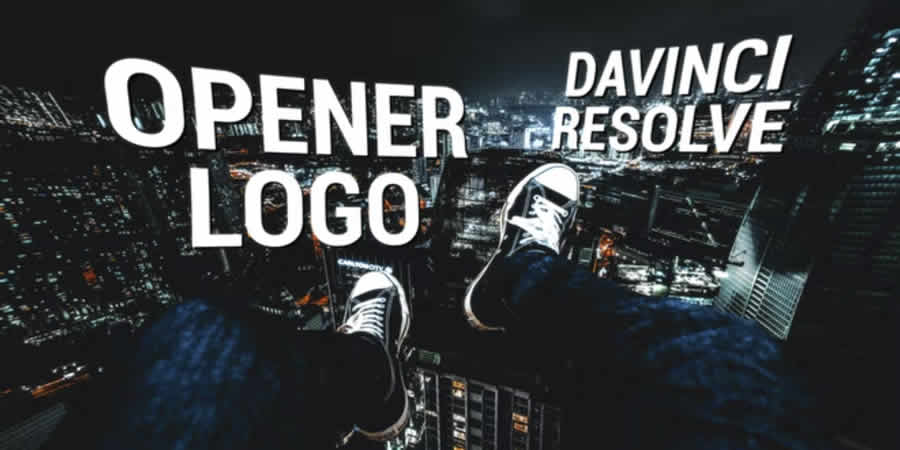
The first ten seconds of a video determine audience retention. Opener templates—which include logo reveals and branded animations—are essential for establishing a professional aesthetic.
- Modern Opener Logo Template: Ideal for corporate presentations, this template provides a clean, professional entry point for brand awareness.
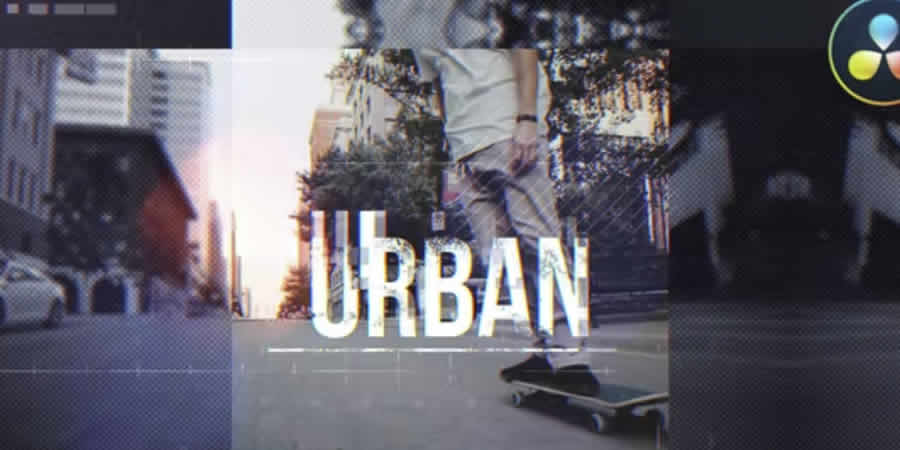
- Urban Opener Template: Designed for high-energy content, such as sports highlight reels or action-packed vlogs, this template utilizes fast-paced cuts and bold, rhythmic motion.
- Dynamic 3D White Logo: This template leverages Resolve’s 3D capabilities to place your logo in a virtual space, creating a sense of depth and authority.
Intro and Typography Packs
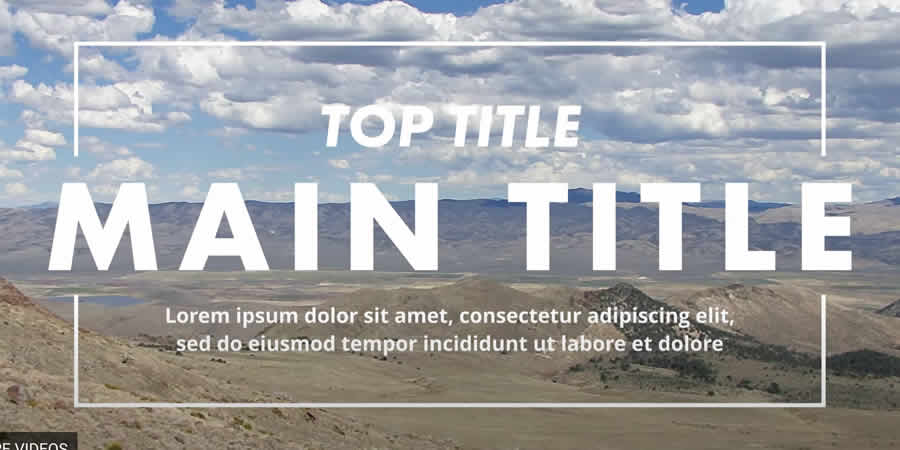
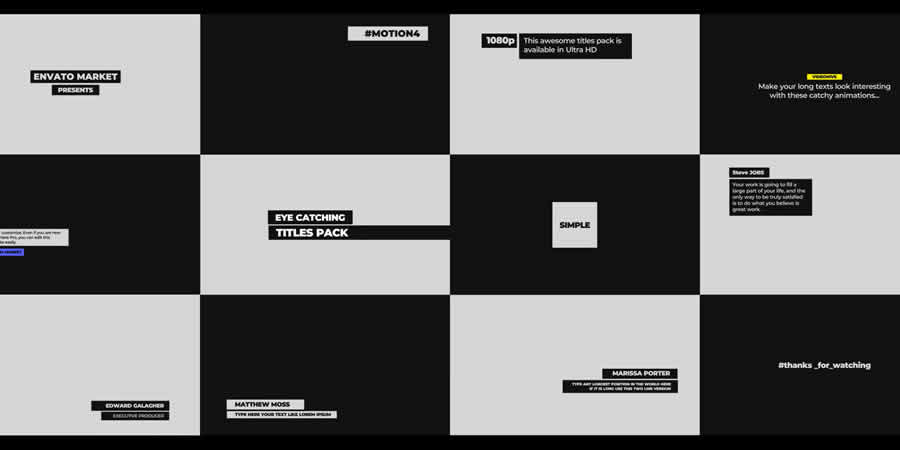
Typography is the voice of your video. A poorly chosen font or a static text element can diminish the impact of your message. These templates offer dynamic text animation that captures viewer interest:
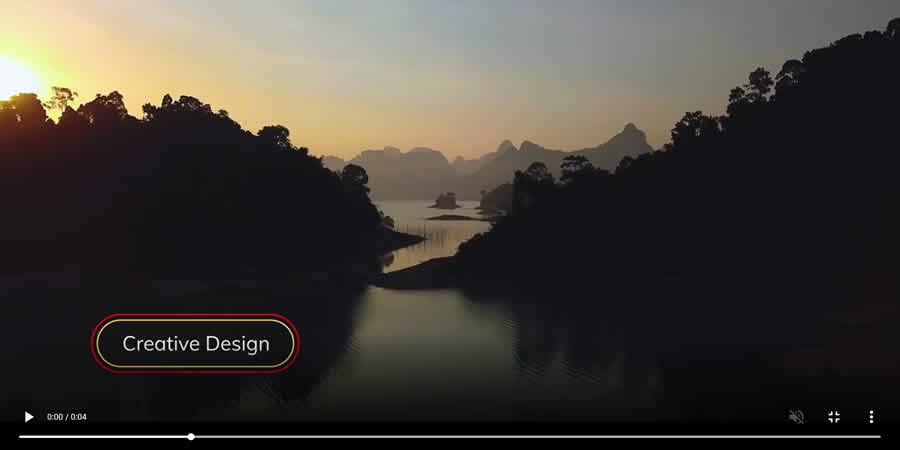
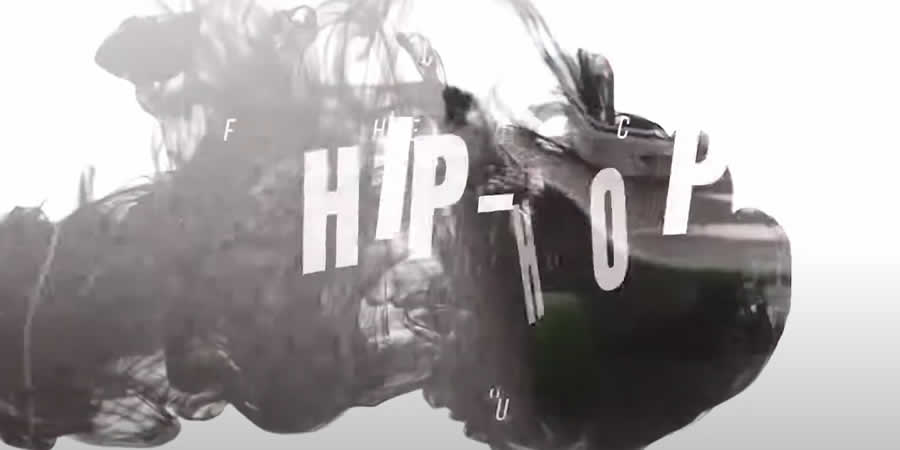
- Hip Hop Intro: Featuring rhythmic animations and a contemporary design, this template is the go-to for music videos and modern vlogs.
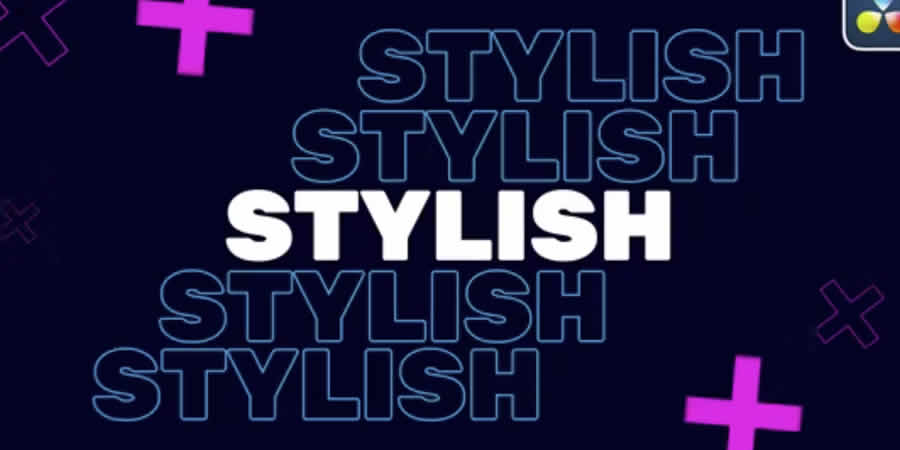
- Stylish Typography Intro: Perfect for educational content or documentary-style intros, this pack offers vibrant, colorful text layouts that remain readable across diverse backgrounds.
Lower Thirds and Utility Elements
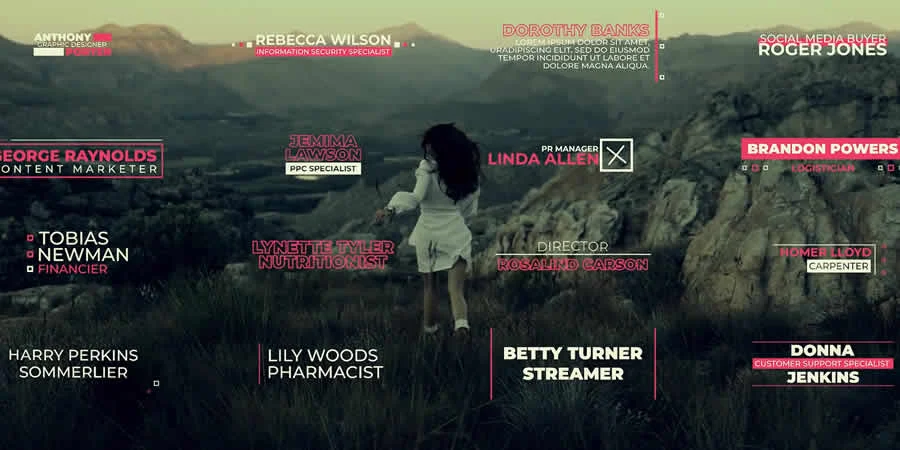
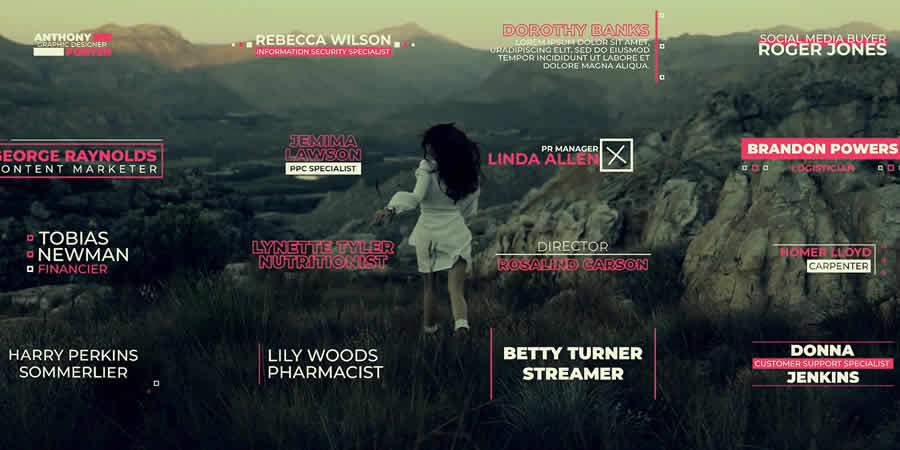
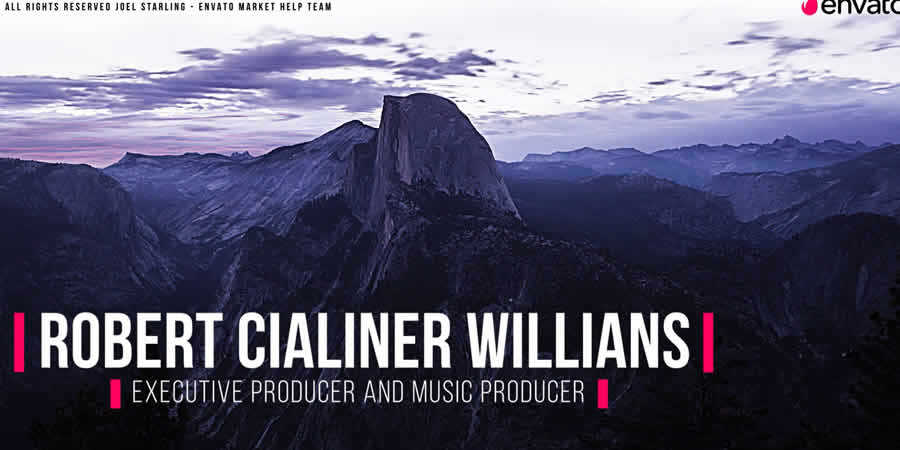
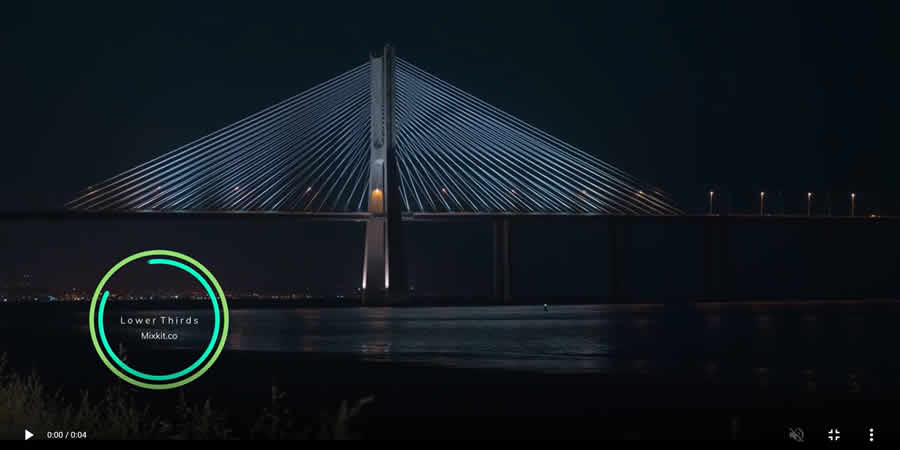
Lower thirds are the unsung heroes of video production. They provide context without cluttering the screen.
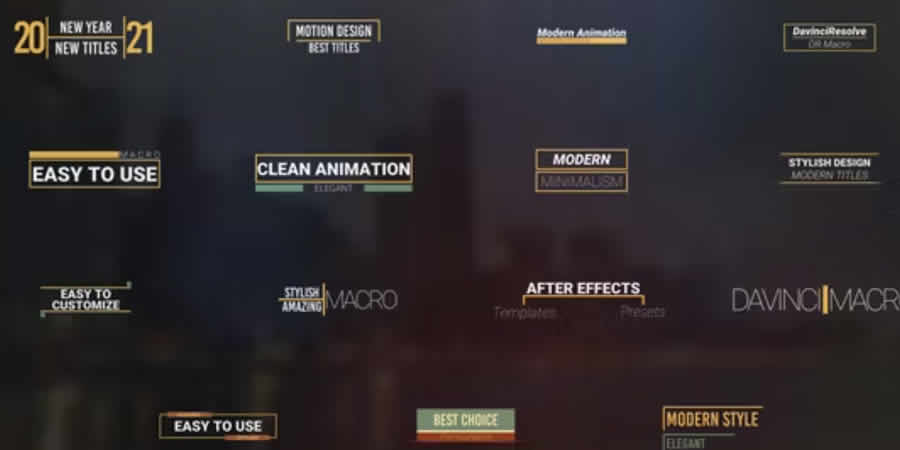
- Thin Border Lower Third: This design is preferred for minimalist editing styles, ensuring the subject’s name or title is visible without obscuring the background action.
- Elegant 4K Lower Thirds: High-resolution projects require high-resolution assets. These templates ensure that your text remains sharp on high-density displays.
- Subscription Button Overlays: Essential for YouTube creators, these templates include animated call-to-action buttons, often paired with a cursor animation to increase conversion rates.
Special Effects and Visual Enhancements
Beyond text, DaVinci Resolve templates can introduce complex visual effects that would typically take hours to build from scratch.
- Diode and Glitch Effects: These provide a gritty, digital aesthetic, perfect for "cyberpunk" or high-tech video themes.
- Magic Gradient Tool: A versatile utility that allows for the creation of sophisticated 3D-styled backgrounds.
- Realistic Hits and Rumbles: Designed for filmmakers, these effects simulate camera shakes and impact tremors, adding visceral weight to action sequences.
Installation and Optimization Best Practices
The Technical Workflow
To install a template in DaVinci Resolve, you generally need to import the file via the "Effects Library." If the template is a .drfx file, simply double-clicking it will trigger the installer for your local user folder. For more complex projects, you may need to open the project file provided and copy the nodes directly into your current workspace.
Managing Performance
High-end Fusion effects and motion-heavy templates can significantly tax your GPU and RAM. To maintain a smooth editing experience:
- Use Proxy Media: Generate proxies for your high-resolution footage before applying heavy effects.
- Render Cache: Utilize the "Smart Render Cache" feature in Resolve to pre-render complex nodes.
- Timeline Monitoring: Toggle "Performance Mode" in the playback settings to prioritize UI responsiveness over preview quality.
Implications for the Creative Industry
The widespread availability of professional templates has a dual impact on the industry. On one hand, it democratizes high-end production, allowing creators with limited budgets to compete with large-scale agencies. On the other hand, it places a higher premium on curation and originality.

The most successful editors are not those who simply drag and drop these templates, but those who modify them to suit their unique brand identity. Using a template as a starting point, rather than a final product, is the hallmark of a professional. By adjusting timing, color-grading the elements to match your footage, and integrating your own custom typography, you transform a generic asset into a bespoke production element.
Final Recommendations
As you build your creative arsenal, remember that less is often more. An over-edited video with too many transition styles can feel disjointed. Ensure that your choice of lower thirds, openers, and transitions follows a consistent visual language.
Before committing to a template for a client project, perform a stress test:
- Check Readability: Is the text legible on a mobile screen?
- Verify Licensing: Ensure you have the right to use the template in a commercial capacity.
- Maintain Consistency: Save a custom "preset" version of your favorite templates with your brand’s specific color palette and font settings to streamline future projects.
In the rapidly evolving world of DaVinci Resolve, your tools are only as good as your ability to integrate them into a seamless narrative flow. With this curated collection and a commitment to customizing your assets, you are well-positioned to produce high-quality, impactful content that resonates with your audience.