









Introduction: The Hidden Bloat of WordPress Media
Every time a content creator uploads a high-resolution image to a WordPress site, the platform performs a series of background tasks invisible to the end-user. By default, WordPress is engineered to be helpful, automatically generating multiple cropped and resized versions of that single file. While this was designed to ensure responsive imagery across various devices and layouts, it has become a primary contributor to server storage exhaustion and inflated backup sizes.
For site owners managing large libraries, this “helpful” automation can quickly spiral into a storage nightmare. If your site does not utilize these specific sizes, you are essentially paying for server disk space to host digital clutter. This guide explores the mechanics behind WordPress image handling, provides methods for identifying redundant files, and offers robust solutions to regain control over your server’s storage.
Main Facts: Why WordPress Creates Image Versions
To understand why WordPress generates these versions, one must look at its core architecture. When an image is uploaded to the Media Library, WordPress triggers the wp_generate_attachment_metadata() function. This function uses the image_resize_dimensions() utility to create smaller thumbnails and intermediate versions based on the settings defined in your WordPress dashboard.
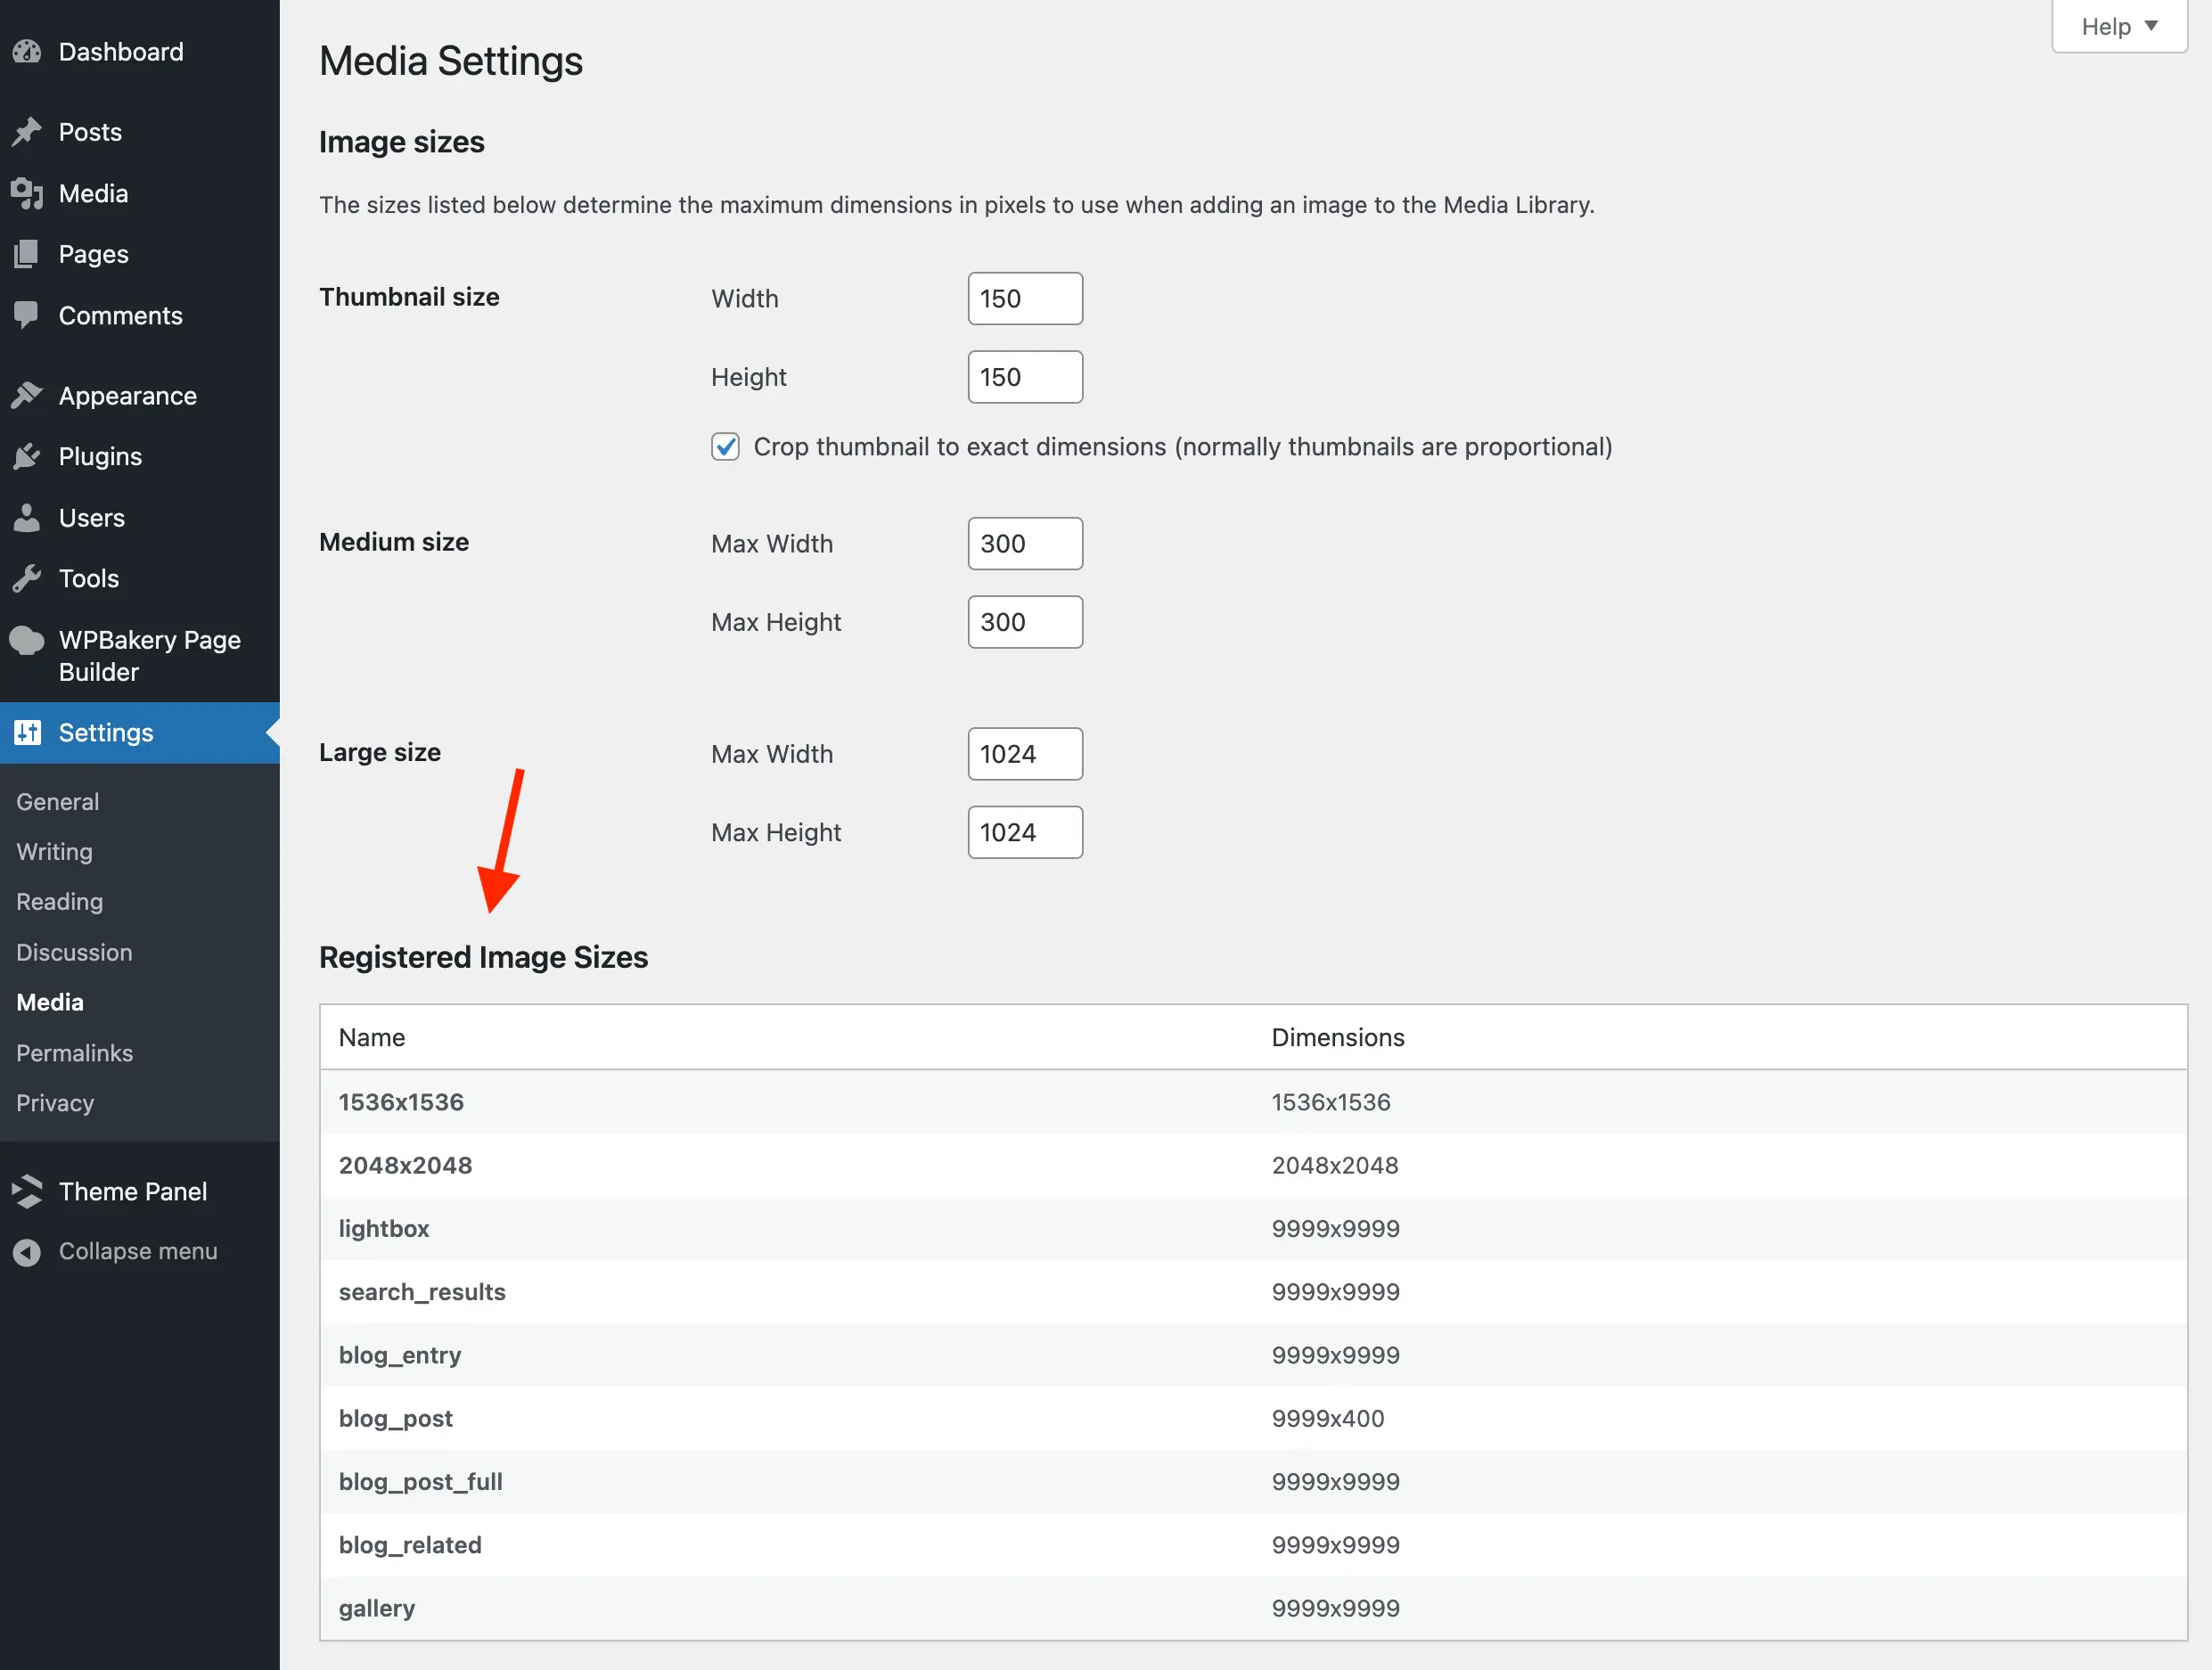
The Default Image Registry
By default, a standard WordPress installation creates a significant array of files for every single upload:

- Thumbnail (150×150): A square crop for index pages.
- Medium (300×300): A standard size for inline blog images.
- Medium_Large (768×0): A responsive-first size for tablets.
- Large (1024×1024): A common size for full-width content.
- Retina/HDPI Versions (1536×1536 & 2048×2048): These ensure that high-resolution screens display crisp images.
- Scaled (-2560): Introduced as a "Big Image Size Threshold," this ensures that massive raw files are downsized to a "web-friendly" maximum.
Beyond these core defaults, every theme and plugin you install—from e-commerce suites like WooCommerce to event management tools—often registers its own unique image dimensions to suit specific design layouts.
Chronology: The Evolution of WordPress Image Handling
The history of WordPress image management is a transition from simple blogging to complex content management.
- Early Years: WordPress originally kept things simple, with minimal variations.
- Responsive Era: As mobile web consumption grew, the introduction of the
medium_largesize and srcset attributes became necessary to prevent mobile users from downloading massive desktop-sized files. - WordPress 5.3.0 (2019): This was a watershed moment with the introduction of the "Big Image Size Threshold." WordPress began identifying files larger than 2560px and creating a "scaled" version to prevent server memory exhaustion during image processing.
- Present Day: Modern site owners now face a landscape where a single high-resolution photograph can result in seven to ten additional files, a process that can increase storage requirements by 300% to 500% per upload.
Supporting Data: The Impact of Unmanaged Media
The implications of allowing default behavior to persist are quantifiable. Consider a photography blog that uploads 100 images a month, with each original file averaging 2MB.
- Storage Consumption: If each upload generates 7 additional versions, the site creates 800 files monthly. Over a year, this results in nearly 10,000 files.
- Backup Latency: Backups are not just about the database; they are about the file system. When a backup plugin attempts to compress 10,000+ unnecessary files, backup times increase, server CPU usage spikes, and the risk of a "timeout" during the backup process grows significantly.
- Performance Trade-offs: While having the "perfect" size for a display can improve page speed (by serving smaller images to mobile devices), having too many variations can confuse caching mechanisms and clutter the CDN (Content Delivery Network).
Official Perspective and Implementation
While the WordPress core team maintains these features for compatibility, developers have long pushed for more granular control. The consensus among high-performance WordPress developers is clear: if you are using a modern responsive theme that handles images via CSS or a specialized plugin, the default WordPress crops are often redundant.

Identifying Your Current Image Sizes
Before disabling anything, it is critical to see what is currently being generated. You can inject this code snippet into your functions.php file to audit your installation:
add_action( 'wp_head', function()
    echo '<pre>';
    foreach ( (array) wp_get_registered_image_subsizes() as $size => $dims )
        $width = $dims['width'] ?? 0;
        $height = $dims['height'] ?? 0;
        echo "$size: $widthx$heightn";

    echo '</pre>';
 );
Implications: The Risks and Rewards of Disabling Auto-Generation
The Benefits
- Storage Optimization: You drastically reduce the disk space footprint of your
uploadsfolder. - Streamlined Backups: Smaller file counts mean faster, more reliable server backups.
- Clean Media Library: A more manageable file system structure.
The Potential Risks
- Layout Issues: If your theme expects a "thumbnail" size to exist and you delete it, some parts of your site might display broken image icons or full-sized images where small ones should be.
- SEO Concerns: Some argue that having optimized, smaller versions of images helps with Google’s "Core Web Vitals." However, modern image optimization plugins often handle this better than core WordPress settings.
Technical Solutions: How to Take Control
1. Stopping All Image Generation
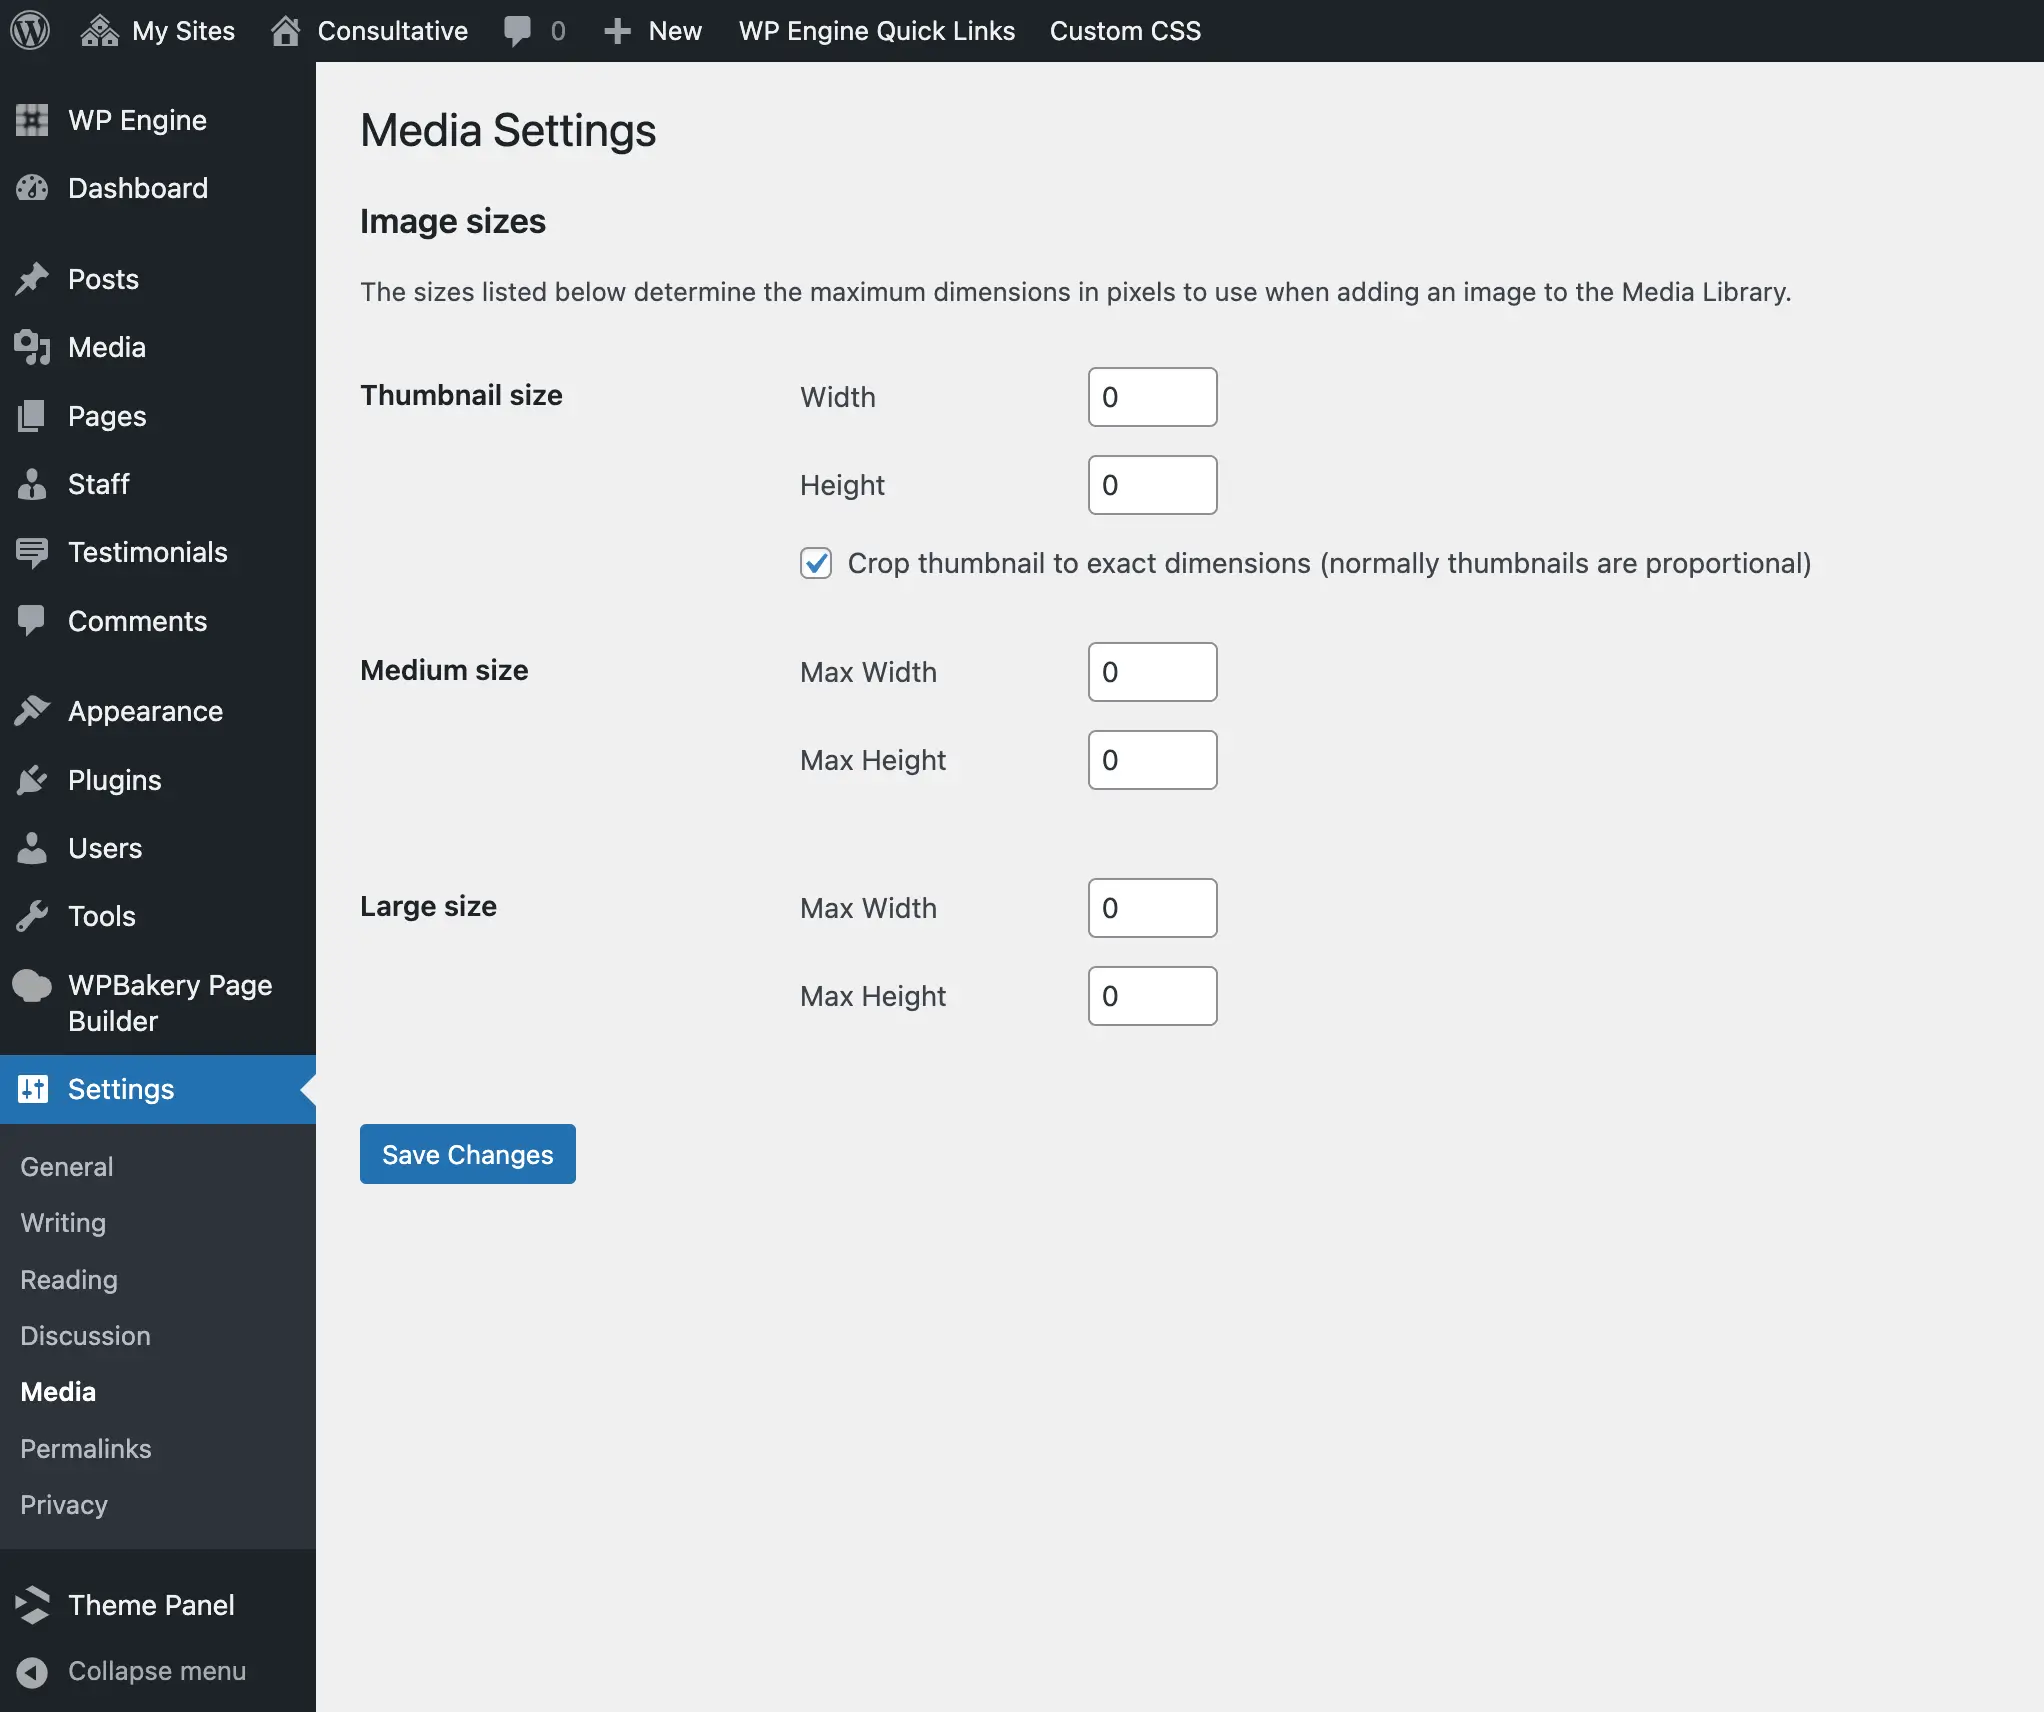
To stop WordPress from creating extra versions entirely, you can use the intermediate_image_sizes_advanced filter. This is the most effective way to keep your media folder clean:
// Prevent WordPress from creating any additional image sizes
add_filter( 'intermediate_image_sizes_advanced', '__return_empty_array' );
2. Modifying the Big Image Size Threshold
If you want to maintain the "scaled" feature but adjust the threshold to better suit your photography or high-res content, use this filter:
add_filter( 'big_image_size_threshold', function( $threshold )
    return 5000; // Allows larger uploads before scaling occurs
 );
3. Cleaning Up Existing Bloat
Applying these snippets only affects new uploads. To clean up old images, the most professional approach is to use a plugin like Force Regenerate Thumbnails. This tool iterates through your existing library, removes the old, unused cropped files based on your current configuration, and regenerates only what is necessary.
Important: Always perform a full site and database backup before running any cleanup utilities.
Expert Recommendations
For most small to medium business sites, the default WordPress settings are overkill. If you are using a page builder (like Elementor or Divi) or a professional theme (like Total), these tools often handle their own image delivery.
Our Final Recommendation:
- Audit: Run the audit snippet provided above to see exactly how many sizes your site is generating.
- Filter: If you see sizes you don’t recognize, identify which plugin or theme is creating them and check if those settings can be toggled off within that plugin’s dashboard.
- Deploy: If you are confident in your site’s layout, use the
intermediate_image_sizes_advancedfilter to restrict generation to only the sizes you actually use. - Maintain: Regularly prune your media library. A clean media library is not just a storage-efficient one; it is a faster, more agile one.
By taking these steps, you transition from being a passive user of WordPress defaults to being an active architect of your site’s performance. The result is a leaner, faster, and more manageable web presence.